Using Plakar UI
The Plakar UI lets you browse snapshots, restore files, and manage integrations from a browser. This guide walks you through starting the UI on a repository and using its main features.
Starting the UI
Run plakar ui on a Kloset repository to start the UI. If no Kloset store is
specified Plakar will launch the UI on the default store located at ~/.plakar:
plakar at /var/backups uiPlakar prints the address and authentication token, then opens your browser automatically:
launching webUI at http://localhost:38119?plakar_token=bd179e88-8739-49d4-89b6-9e2a0595b9c8The token is embedded in the URL so you do not need to copy or enter it manually.
To listen on a specific address and port instead of a random one:
plakar at /var/backups ui -addr localhost:9090To start the server without opening the browser, pass -no-spawn:
plakar at /var/backups ui -no-spawnTo serve the UI over HTTPS, provide a certificate and private key in PEM format:
plakar at /var/backups ui -cert fullchain.pem -key privkey.pemIf either -cert or -key is missing, the server falls back to HTTP.
To allow the UI to be accessed from any origin, pass -cors. This sets the
Access-Control-Allow-Origin response headers:
plakar at /var/backups ui -corsTo disable the authentication token required to access the HTTP APIs, pass
-no-auth:
plakar at /var/backups ui -no-authUsing the UI
Browsing and restoring snapshots
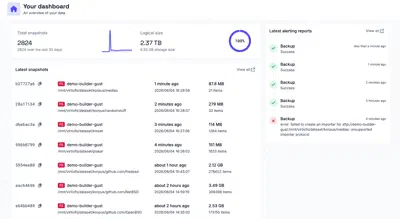
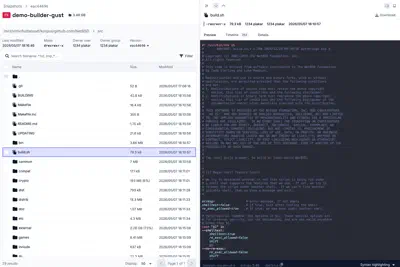
The UI lists all snapshots in the Kloset store. You can select a snapshot to browse its contents. From inside a snapshot you can:
- Previewing files: view files directly in the browser.
- Downloading a single file: click on a file to download it directly.
- Downloading a directory: download a
.tar.gzarchive of a directory. - Downloading the entire snapshot: download a
.tar.gzarchive of the snapshot
This covers the full restore workflow without needing the CLI.
Logging in to your Plakar account
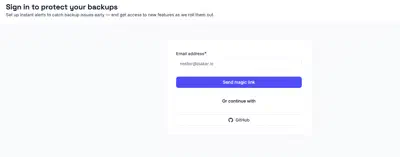
Installing integrations from the UI and alerting require the user to be logged in. You can log in directly from the UI either using your email and receiving a magic link or with your GitHub account. The GitHub sign-in page opens in a new tab.
Once you complete the sign-in, the sign-in page shows a confirmation code. Go back to the UI tab and enter the code to finish logging in.
Plakar provides pre-built integration packages as a convenience. Login is required to prevent abuse on our servers. If you prefer not to log in, you can build and install integration packages locally from source. See the Managing packages and Logging in to Plakar guides for more details.
Managing integrations
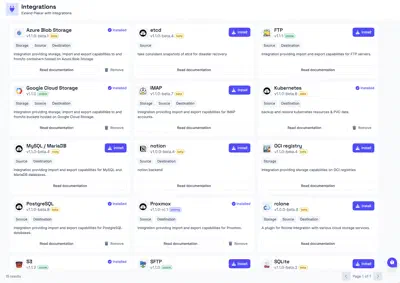
Once you’re logged in, you can install and uninstall integrations from the integrations section of the UI.
Viewing alerts
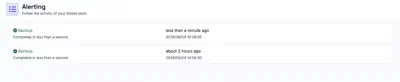
Once you’re logged in, alerting is enabled by default. You will automatically receive reports whenever you run backups, restores, checks, or maintenance tasks.